
GNS3 won’t help you much in terms of enterprise automation. I will help you test things quickly and prove a configuration at times, though.
There are 5 steps to get GNS working:
- Configure Proxmox VM
- Get Ubuntu to run GNS
- Get your PC connected
- Import templates and images
- Get it connected to LAN
Configure Proxmox VM
I’ll start by creating a new VM in Proxmox. There are few particularities to get right in order for GNS to work.

- For the OS, I opted for Ubuntu LTS
- In Disks tab, make sure SSD emulation is enabled
- In CPU tab, make sure Type is set to Host, and nested-virt flag is on.
- Allocate as much RAM and disk size as possible
- I recommend allocating at least 4 vCPU’s
Install GNS server
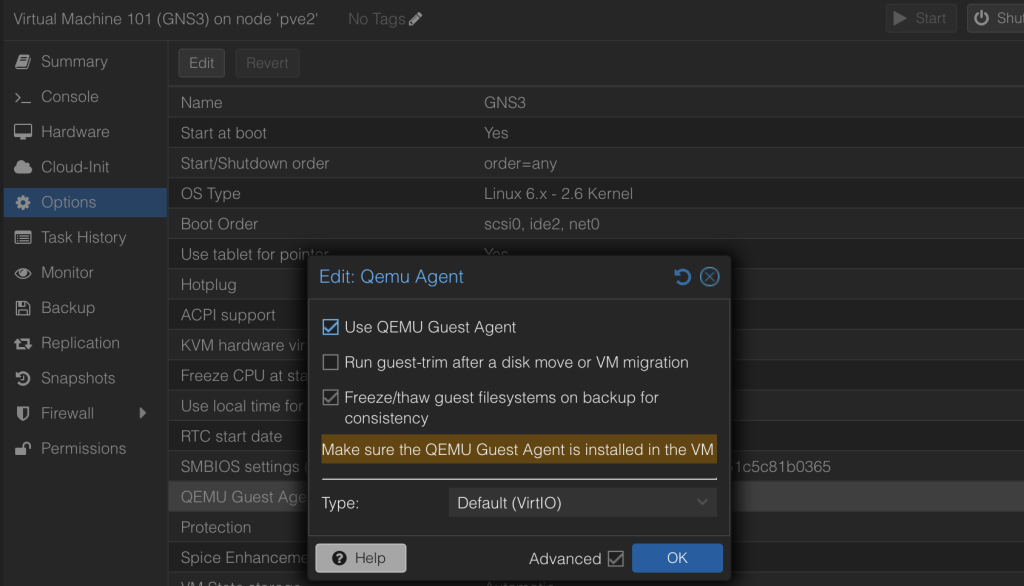
Before we actually do that, it’s always a good idea to install the guest agent. This will allow Proxmox to get useful info from inside the VM (like IP address).
Installing guest agent
SSH into the newly installed Ubuntu system and issue below command.
apt-get install qemu-guest-agentAfterwards, make sure it’s enabled in Proxmox (VM’s Options tab)
Installing KVM
GNS relies heavily on virtualizing the switches and routers’ IOS. This is why we enabled nested virtualization earlier, and that is why we need to install KVM (the Linux solution for virtualization) in Ubuntu. Following command should help.
sudo apt install qemu-kvm libvirt-daemon-system libvirt-clients bridge-utils -yTo check afterwards if the installation was successful use the command listed below.
kvm-okIt should look like this:
INFO: /dev/kvm exists
KVM acceleration can be used
Actually installing GNS server
Finally what we came for. The following command will run a script that installs everything needed to use this VM as a GNS remote server.
cd /tmp
curl https://raw.githubusercontent.com/GNS3/gns3-server/master/scripts/remote-install.sh > gns3-remote-install.sh
bash gns3-remote-install.sh --with-iou --with-i386-repository
Local GNS meet remote GNS
I won’t bore you with the process of installing GNS3 on your machine.
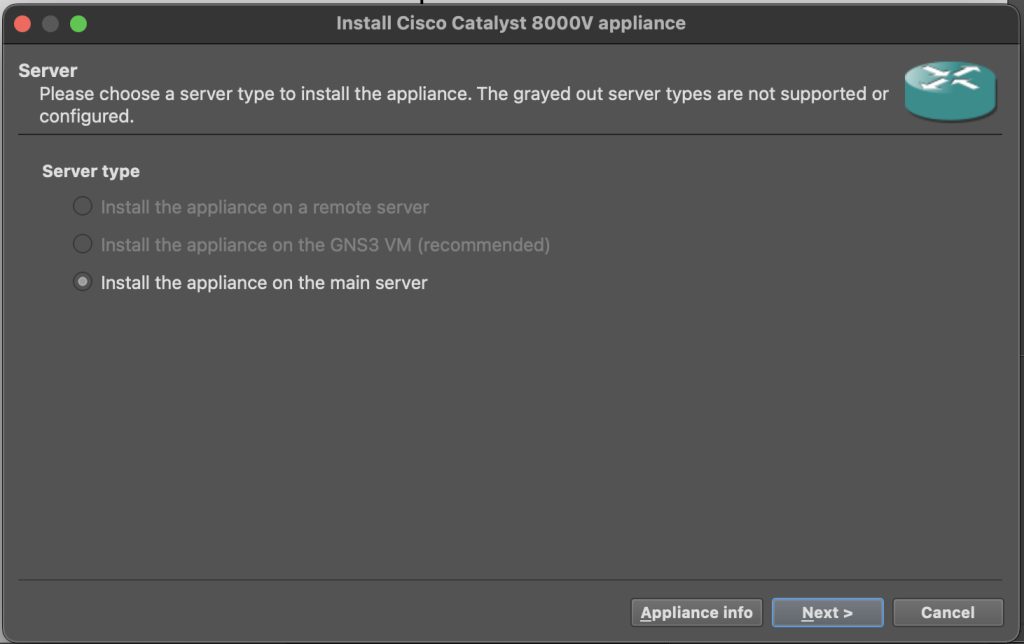
The only important task here is making sure you check the option to use Remote Server and then input the IP of your newly created Ubuntu VM with GNS server running.
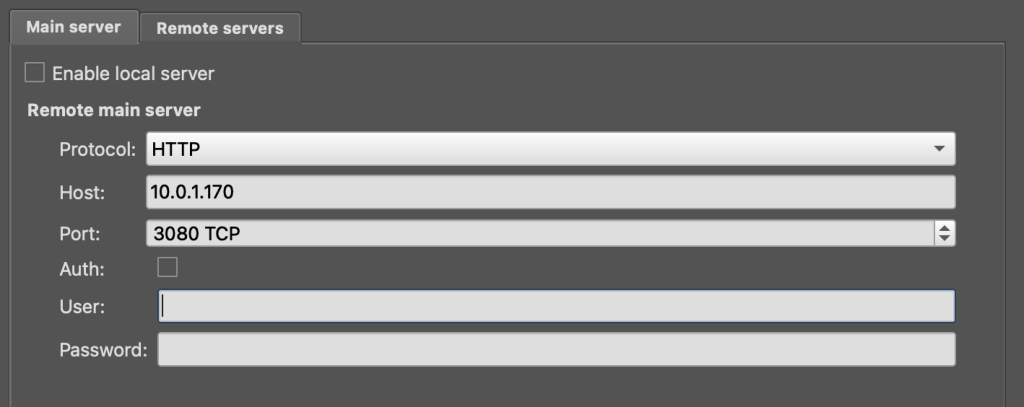
Don’t be fooled by the tab name. Main server just denotes this is the first server your local GNS will try to use, it is a remote server as well.
Adding templates and images
By default GNS uses generic images. Chances are you’ll want to test some images from mainstream vendors such as Cisco. To do that, we need to configure resources in GNS. There are two parts to this:
- The GNS template
- The actual IOS image
First one is easy, there are many templates available for pretty much whatever you need, straight from the GNS3 interface.
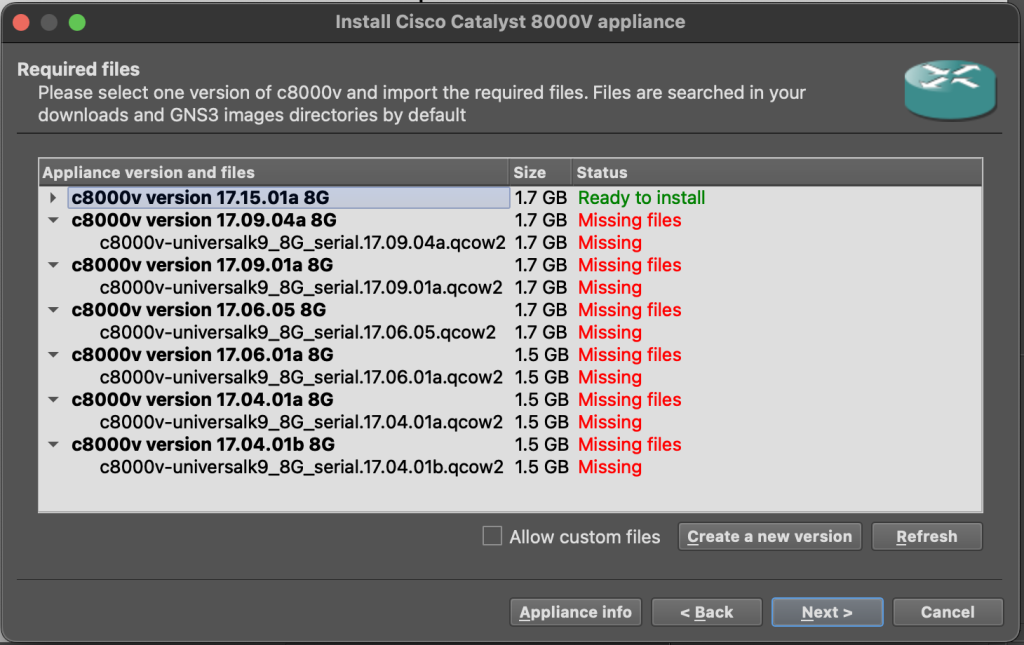
For the second part, you will need to get the images from your vendor. These might require login and being entitled to download them.
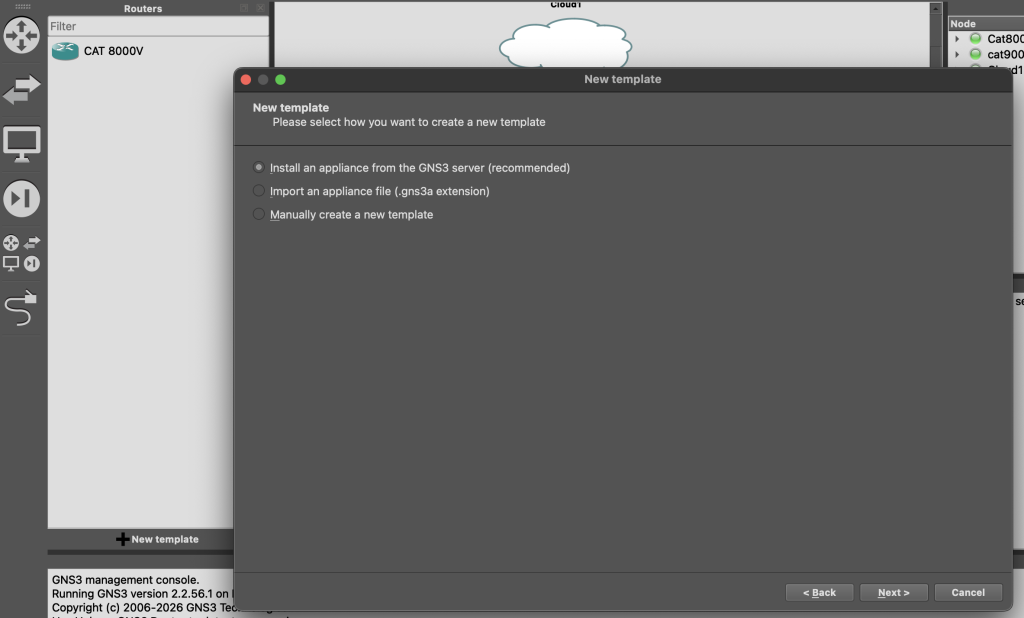
Click on the router icon and then New template and the option to install from the GNS3 server.
I will select the template for the 8000V router as I want to play with NETCONF and that is one of the least taxing devices to emulate.
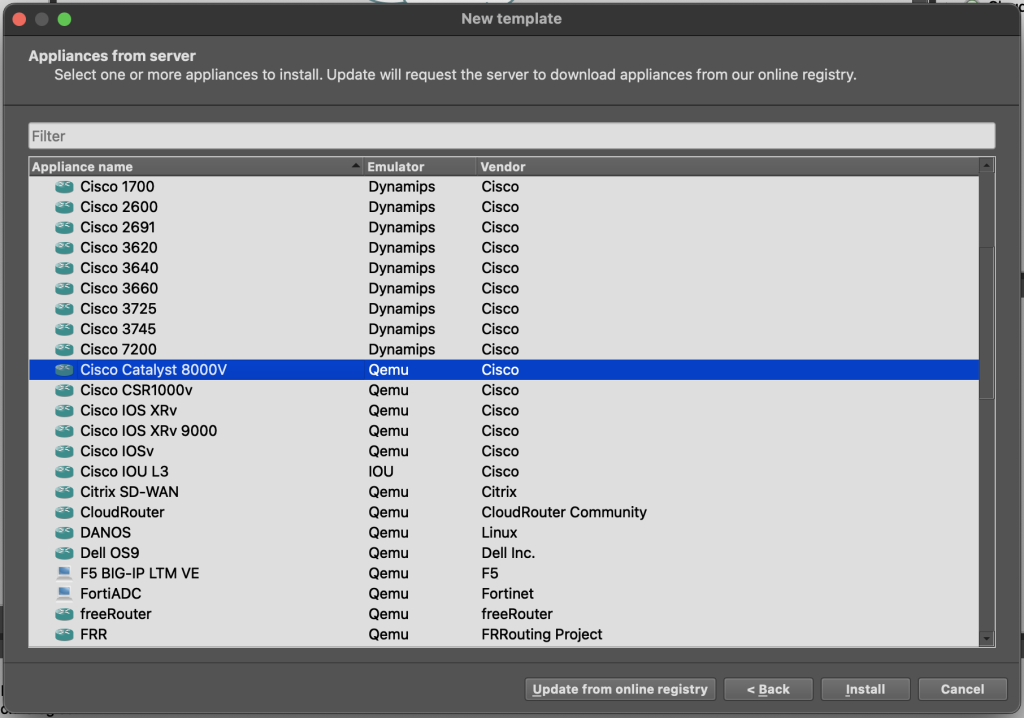
We obviously want it installed on the remote server so the end PC stays clean and quiet.
This is the part where you either call your Cisco rep or take out the credit card to get your hands on the IOS image.
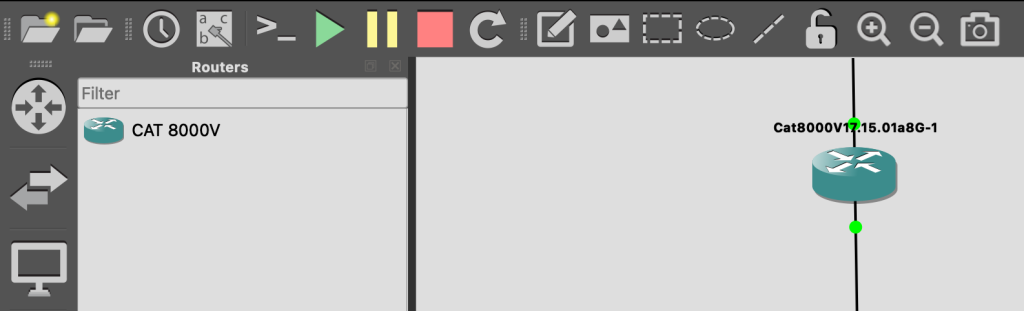
And now we should have the virtual device configured and ready to use in simulations.
LAN access
This is purely optional, but for me is helpful to access the emulated devices directly through SSH. I can also quickly test a Python script or anything else really. For these purposes, I want to link the devices to my LAN.
To do this, simply add the Cloud node and connect its interface with your emulated device.

Conclusion
GNS3 can serve as a quick tool to test things out and learn the basics of emulation. How about when we want to build a test environment in a programmatic way? The next article will touch on that.
Leave a Reply