
If your curiosity surpasses your company’s appetite for risk, chances are you won’t be able to test in production (bad idea, don’t try that).
In this post I’ll present the lab setup I created for experimenting with automation setups in a safe and contained manner.
General setup
What I am describing below id mostly a framework. Your needs will be different than mine, but that’s the beauty of this setup: flexibility that allows it to adapt to any goal you might have.
- As the title suggests, everything will be housed in a single physical server.
2. Virtualization will pick up from there. By using a hypervisor, we’ll be able to create any VM we might need.
3. Going one layer deeper, one of the VMs will have Docker configured so we can also use containers.
Do you want to play with a tool that is distributed as a docker image? Go for it. Is your tool not yet packaged in a nice container and need a VM? No worries. This allows us to use the hardware in the most efficient way.
You’ll see me have a preference for open source products. This is not only to keep the software cost low, but also to mirror a wider industry trend.
The hardware
If you are lucky enough your company will provide a lab setup for you to test things out. For all others, used products market comes to the rescue.
Small form factor PCs offer plenty of oomph for a low price. I managed to get my hands on a Lenovo Thinkcentre.

- CPU – 6 core Intel 8700
- RAM – 32 Gigs
- Storage – 2 x 250G SSDs
This is also silent enough to have it in your home without too many (but not zero) complains from your partner.
Layer 1 – Hypervisor
I am using Proxmox since it is free, open source, and based on KVM which is popular eith cloud providers.
In terms of getting it installed on your machine, frankly others have done a much better job of describing the whole process, a simple online search will provide you with ample guides.
The basic steps are:
- Download Proxmox VE iso

- Create a bootable USB drive using Balena Etcher

- Use the USB drive to have it installed on your hardware
Following the on screen instructions will get you working setup that will work fine for a lab environment.
- Run post install script
This is optional but I highly recommend it. TTek has great scripts, this one script will change the repository to the public one and disable the annoying pop ups.
Layer 2 – VM
Great. Now I have a solid base and easy way to install VM based tools.
Say for example you want to demo Zabbix. Now it’s a matter of getting the VM image and privisioning a virtual machine around it.
But we can take the virtualization gains one step further, with the help of containerization. Before I dwelve into the details, let’s provision a base Ubuntu VM that will house the docker engine and all the containers.
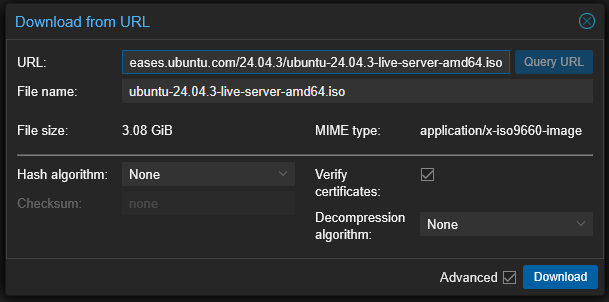
I started by downloading the Ubuntu Server ISO. Well, have Proxmox download it for me. Navigating to Proxmox > Local > ISO, I can have it automatically download it.
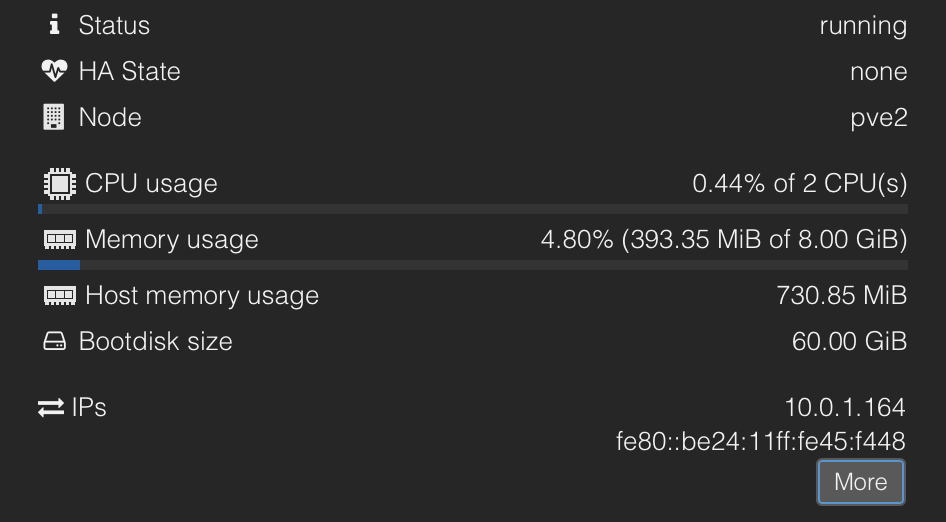
Next, I created a new VM. I assigned it a reasonable amount of resources: 4vCPUs, 8 GB of RAM and a 60 GB drive. One important setting here is SSD emulation; together with TRIM support that I’ll configure later in Ubuntu it will allow efficent use of the storage an shrinking of utilization when files are deleted. Without this, you risk your VM crawling to a halt due to exhausted storage – guess how I found this out.
I used the VNC console to install Ubuntu and do the innital config: nothing fancy, just the base username, password, IP, etc.
Tips
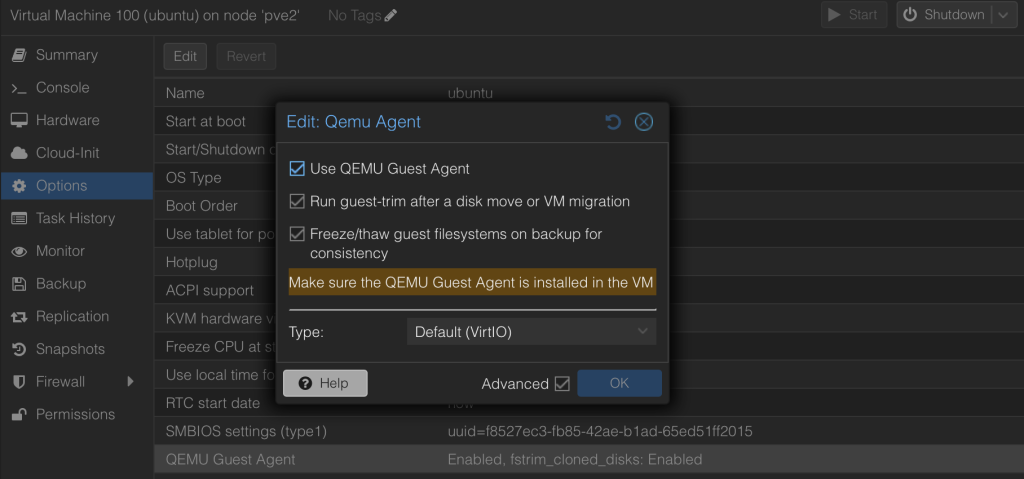
- Make sure to install the guest agent. This will allow the guest OS to talk to the Hypervisor and helps you quickly see the IP address.
2. Enable said guest agent. This is done under the VM options.
3. Verify TRIM support
systemctl is-enabled fstrim.timerIf “enabled” is the returned output, we are good to go.
Layer 3 – Containers
VM’s are great, but some tools now come packaged as containers. This enables better usage of the resources.
We can take advantage of that by creating our own container setup. This is done in three simple steps:
- Install the docker engine
- Install a container management tool
- Finally pull and deploy a container
Docker
The first step is done simply by following the official docker configuration for your operating system, Ubuntu in my case.
Portainer
Docker containers can be fully managed from CLI and in a production environment you’ll probably use that. But having a nice GUI to tackle the installation of containers eases the learning curve. I opted for Portainer.
The way to install it is to use the docker run command since, well, we don’t have a GUI tool to do that.
docker run -d -p 8000:8000 -p 9443:9443 --name portainer --restart=always -v /var/run/docker.sock:/var/run/docker.sock -v portainer_data:/data portainer/portainer-ce:ltsBy default you can access it using your Ubuntu’s IP address and port 9443. The first thing you’ll be prompted for is a change of password.
Actual useful containers
We are ready to deploy the first container. Doing so it’s just a matter accessing Docker Hub and searching for your docker image. I will use Jenkins to demonstrate.
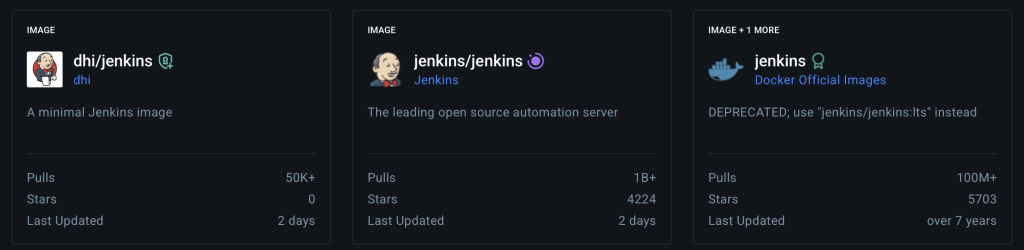
There are usually multiple variants, I try to opt for the official one whenever I can.
To create the container, go to your local environment > containers and add a new container.
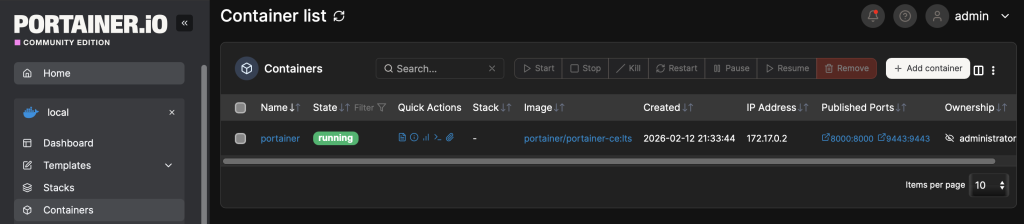
Remember the name we saw on docker-hub? We’ll use that in the image field. I’ll also configure a name for it.

The last thing to configure for a minimum deployment is the Network tab. Using host mode for now, will enable us accessing Jenkins on port 8080. You can always check the port list on the image documentation.
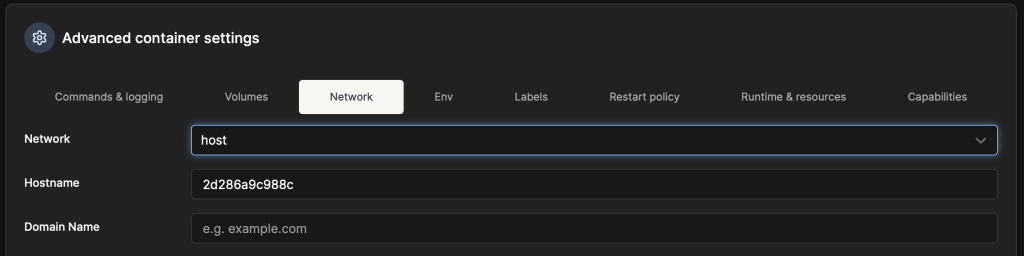
Navigating to the Ubuntu IP address on port 8080 will surely present the initial Jenkins page.
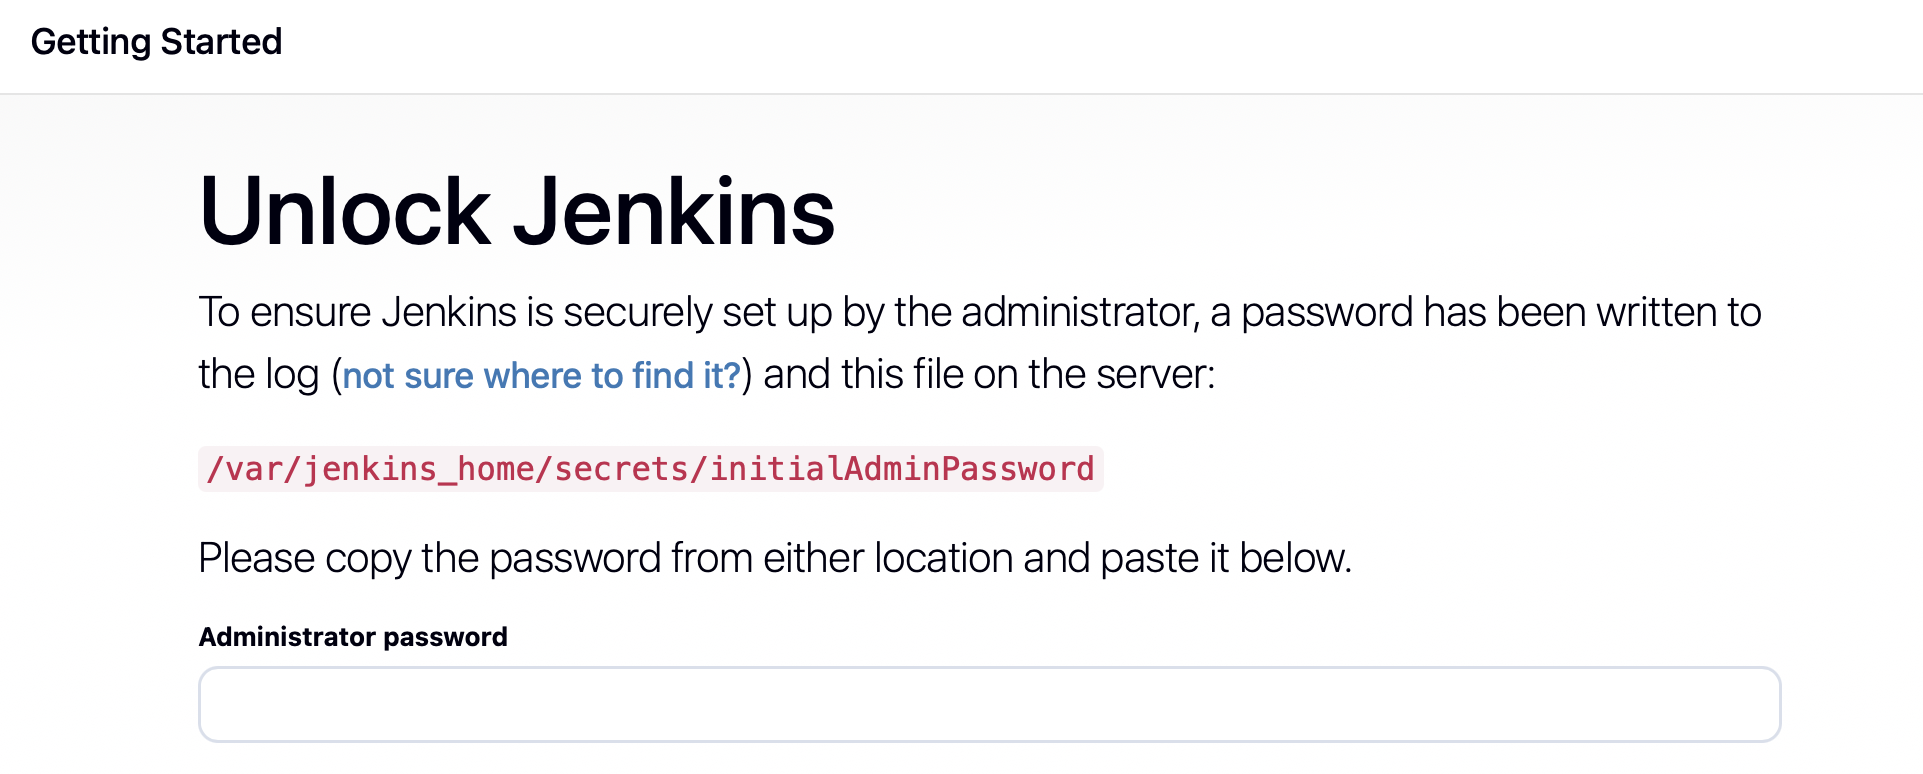
Configuring Jenkins is another story for another day, but for now let’s see what we accomplished.
Conclusion
While feeling like lingering for something greater, this post is meant to create the “shelves” that will house all the DevOps boxes to be used later on. It aims to use hardware resources in the most efficient way and be as flexible as possible.
Leave a Reply to Petrea Horatiu Cancel reply